
How to Use Pens with Cricut Maker?
Cricut pens are a type of accessory that can be used with your Cricut Maker to draw or write on various materials, such as paper, cardstock, vinyl, fabric, and more. Cricut pens can create different effects and styles, such as fine lines, bold strokes, glitter, metallic, or gel. You can use Cricut pens to add details, embellishments, or text to your projects, such as stickers, cards, labels, invitations, and more.
How to Use Pens with Cricut Maker | Cricut Maker | Cricut™
1. Open Cricut Design Space and create a new project. You can choose any size and resolution you want, but I recommend using a 12 x 12 inch document to match the size of a Cricut cutting mat. Go to File > New and enter the dimensions and units of your document.
2. Choose the image you want to draw or write with your Cricut pen. You can upload your own image, or you can choose from over 1.000.000 designs, fonts, and more in the Cricut Design Store, an online marketplace for digital content. To upload your own image, go to Upload > Upload Image and browse your computer for your image. To choose an image from the Cricut Design Store, go to Images > Browse All Images and search for the image you want.
3. Insert the image to your canvas and adjust the size and position of the image. You can also edit the image using the Edit panel, such as changing the color, rotation, or alignment of the image.

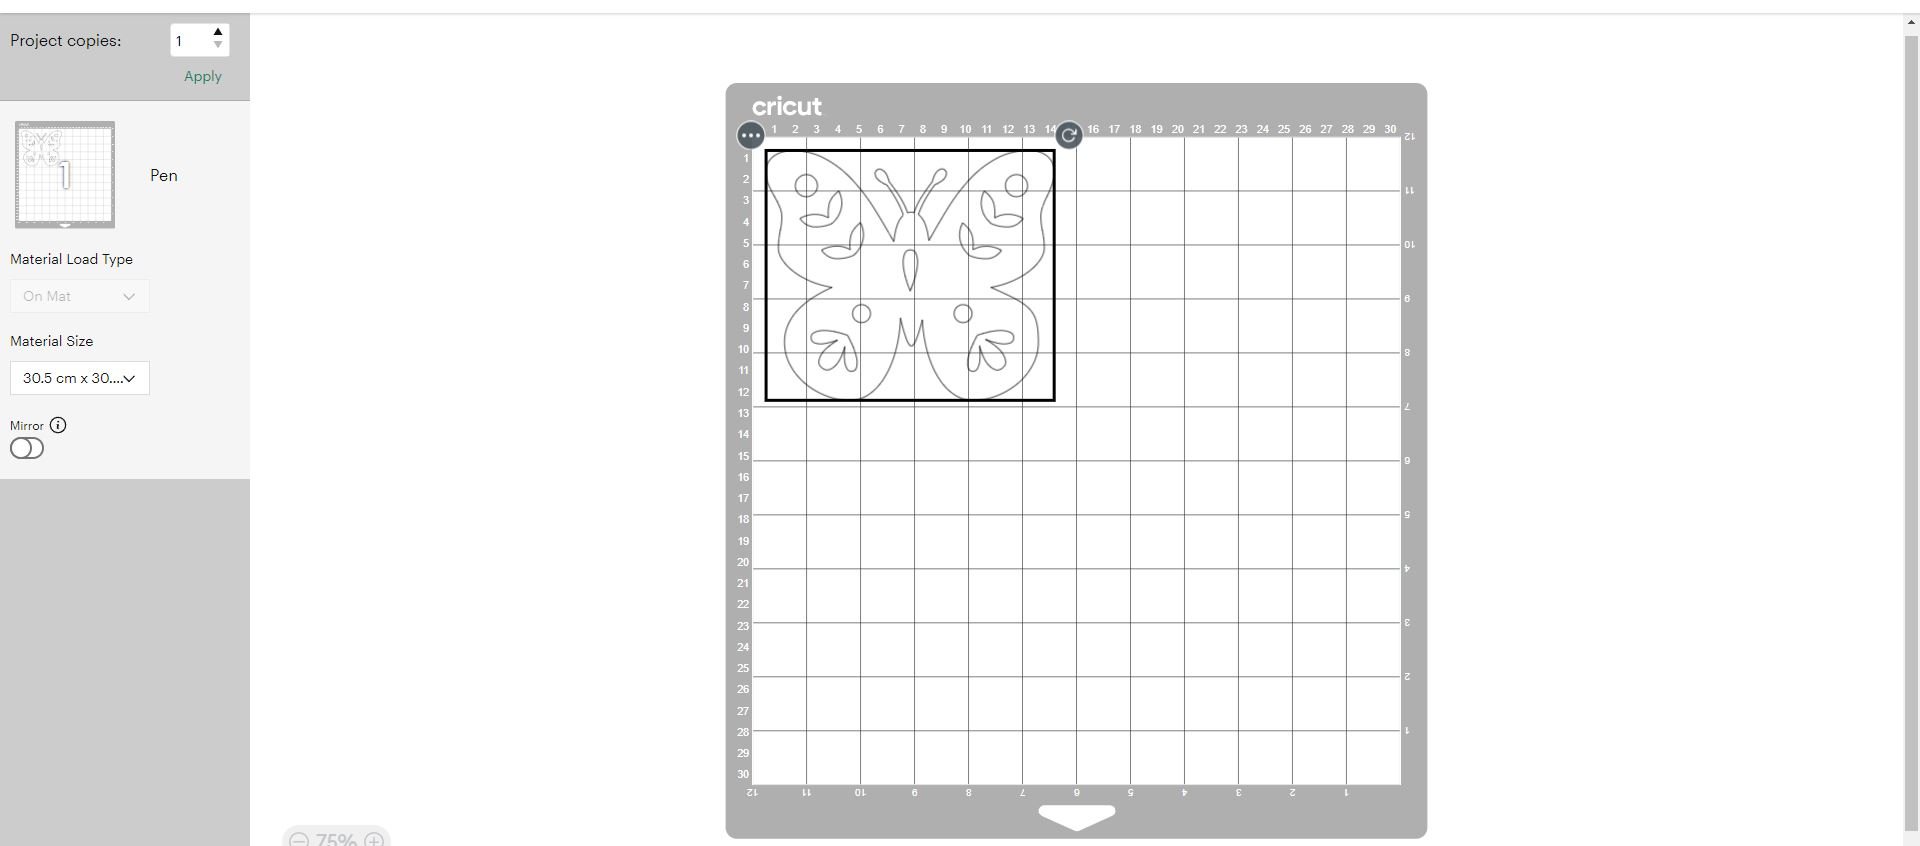
4. Change the line type of the image from Cut to Draw. This will tell your Cricut machine to draw or write the image instead of cutting it. To do this, select the image and go to the Layers panel. Click on the scissors icon next to the image and choose Draw from the drop-down menu. You will see that the image is now outlined with a dashed line.

5. Choose the color and the pen type of your Cricut pen. This will help you preview how your image will look when drawn or written with your Cricut pen. To do this, select the image and go to the Layers panel. Click on the color box next to the image and choose the color that matches your Cricut pen. Then, click on the pen icon next to the image and choose the pen type that matches your Cricut pen. You will see that the image is now displayed with the color and the pen type of your Cricut pen.

6. Load your Cricut pen into the machine. To do this, open the clamp A on your Cricut machine and insert the Cricut pen into the holder. Push the pen down until it clicks into place. Then, close the clamp A and make sure the pen is secure.
7. Send your image to draw or write with your Cricut machine. To do this, click on the Make It button on the top right corner and follow the instructions on the screen. Choose the material you want to draw or write on and load it on your cutting mat. Load the cutting mat into your Cricut machine and press the Go button. Wait for your Cricut machine to finish drawing or writing and then unload the cutting mat. Peel off your image and enjoy your drawing or writing!
Congratulations, you have just learned how to use pens with Cricut Maker using Cricut Design Space! You can use this method to use any type of Cricut pen and any type of image you want. You can also explore the different tools and features of Cricut Design Space to create more complex and creative drawings or writings. Have fun and be creative! blush


