
How to make stickers with cricut?
If you love crafting and decorating, you might want to try making your own stickers with your Cricut machine. Stickers are fun and easy to make, and you can customize them with your favorite designs, colors, and texts. You can use stickers to personalize your notebooks, planners, cards, gifts, and more. In this blog post, I will show you how to make stickers with Cricut using the Print Then Cut feature, which allows you to print your designs on sticker paper and then cut them out with your Cricut machine. I will also share some tips and tricks to make your stickers look amazing and last longer.


What You Need to Make Stickers with Cricut
To make stickers with Cricut, you will need the following items:
• A Cricut machine (I use the Cricut Maker 3, but you can also use the Cricut Explore 3 or the older models)
• A Cricut Design Space account (this is the free software that you use to create and print your designs)
• An inkjet printer (this is the type of printer that works best with sticker paper)
• Sticker paper (there are different types of sticker paper, such as white, clear, glossy, matte, vinyl, etc. I will show you some of my favorites later)
• A Cricut cutting mat (I recommend using the blue LightGrip mat or the green StandardGrip mat for sticker paper)
• A Cricut scraper tool (this helps you smooth out any air bubbles on your sticker paper)
• A Cricut trimmer or scissors (this helps you cut your sticker paper to the right size)
• Optional: A laminator and laminating sheets (this helps you protect your stickers from water, UV rays, and scratches)
How to Make Stickers with Cricut
Now that you have everything you need, let's get started with making stickers with Cricut. Here are the steps to follow:
Step 1: Calibrate your Cricut for Print Then Cut
Before you print and cut your stickers, you need to calibrate your Cricut machine for the Print Then Cut feature. This ensures that your Cricut will cut your stickers accurately and precisely. To calibrate your Cricut, follow these steps:
• Open Cricut Design Space on your computer and sign in to your account.

• Click on the menu icon on the top left corner and select "New Machine Setup".
• Follow the instructions on the screen to connect your Cricut machine to your computer via Bluetooth or USB cable.
• Select your Cricut machine model and click on "Print Then Cut Calibration".
• Follow the instructions on the screen to print a calibration sheet on plain paper and load it on your Cricut mat.
• Insert the mat into your Cricut machine and press the flashing "Go" button.
• Your Cricut machine will scan the calibration sheet and cut a small square around it.
• Check the cut and select the best option on the screen.
• Your Cricut machine is now calibrated for Print Then Cut.
Step 2: Add or upload printable image to your canvas
Next, you need to add or upload the image that you want to turn into a sticker to your canvas in Cricut Design Space. You can either use one of the thousands of images available in the Cricut library, or you can upload your own image from your computer or device. To add or upload an image, follow these steps:

Upload printable image to your canvas
• Click on the "Images" button on the left panel of your canvas to open the image search page.
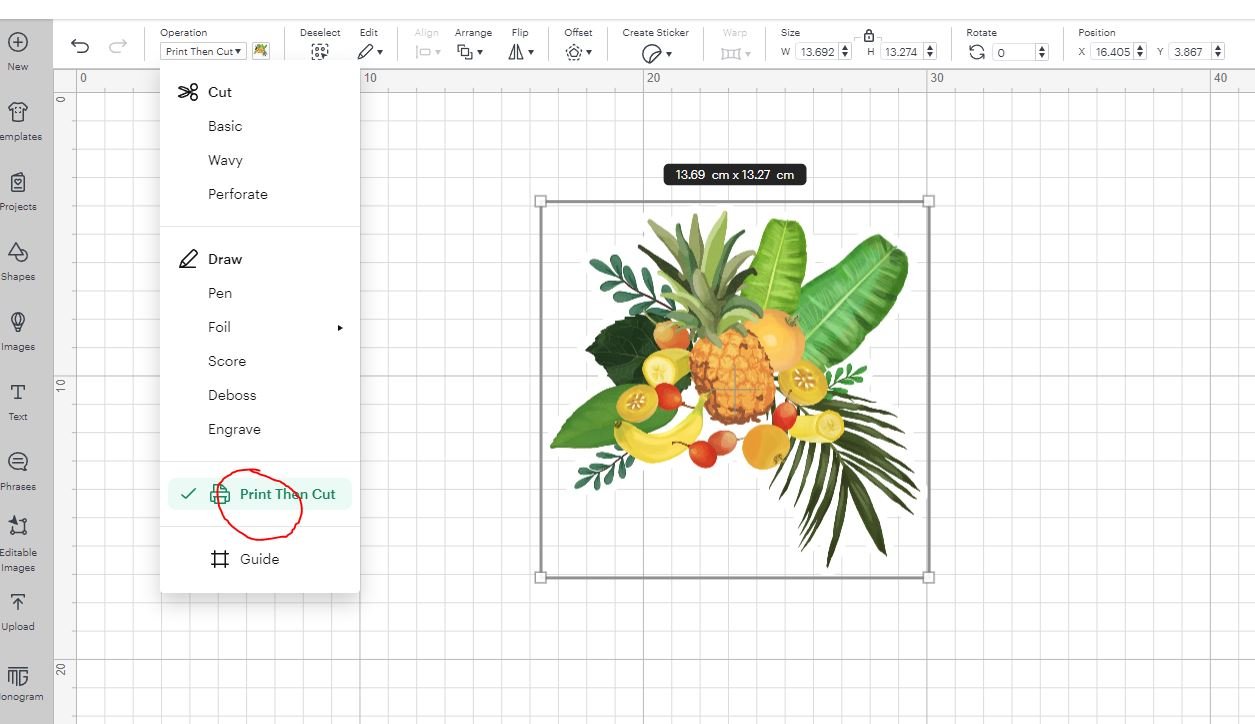
• Type in the keyword or category of the image that you want to use and browse the results. You can filter the results by operation type, image type, layers, and ownership. Make sure to select the "Print Then Cut" option under the operation type filter to see the images that are compatible with this feature.
• Click on the image that you want to use and click on "Insert Images" to add it to your canvas. You can also select multiple images at once and insert them together.
• Alternatively, you can click on the "Upload" button on the left panel of your canvas to upload your own image. You can upload JPG, PNG, BMP, GIF, SVG, or DXF files. Follow the instructions on the screen to browse and select your image, name and tag it, and save it to your uploaded images library. Then, click on the image and click on "Insert Images" to add it to your canvas.
Step 3: Format images with offset feature (optional)
Once you have your image on your canvas, you can format it with the offset feature to create a border or outline around it. This can make your sticker look more professional and stand out better. To format your image with the offset feature, follow these steps:

Format images with offset feature (optional)
• Select your image on your canvas and click on the "Offset" button on the top menu bar.
• Adjust the distance slider to change the thickness of the offset. You can also adjust the corner slider to change the roundness of the offset.
• Choose a color for your offset from the color menu on the top menu bar. You can also use the eyedropper tool to pick a color from your image or canvas.
• Click on the "Apply" button to confirm your offset settings. Your offset will appear as a separate layer on your canvas and in the layers panel on the right.
Step 4: Flatten layers and attach images
After you have formatted your image with the offset feature, you need to flatten the layers and attach the images to prepare them for printing and cutting. Flattening the layers will merge them into one printable image, while attaching the images will keep them in place on your canvas. To flatten and attach your images, follow these steps:
• Select your image and its offset layer on your canvas or in the layers panel. You can use the "Shift" key or the "Select All" button to select multiple images at once.
• Click on the "Flatten" button at the bottom of the layers panel. Your image and its offset will become one layer with the "Print Then Cut" label on it.
• Repeat this process for all the images that you want to turn into stickers.
• Arrange your images on your canvas as you want them to appear on your sticker sheet. You can resize, rotate, and move your images as you like. You can also use the "Align" and "Distribute" tools on the top menu bar to arrange your images evenly and neatly.
• Select all your images on your canvas or in the layers panel and click on the "Attach" button at the bottom of the layers panel. This will keep your images in place on your canvas and prevent them from moving or rearranging when you print and cut them.
Print the sticker sheet
Step 5: Print the sticker sheet
Now that you have your images ready, you need to print them on your sticker paper using your inkjet printer. To print your sticker sheet, follow these steps:
• Click on the "Make It" button on the top right corner of your canvas to go to the preview page.

• Check the preview of your sticker sheet and make sure that everything looks good. You can zoom in and out and move the mat around to see the details. You can also use the "Project Copies" option on the left to change the number of sticker sheets that you want to print.
• Click on the "Continue" button to go to the print page.
• Select your Cricut machine from the drop-down menu on the top left corner and make sure that it is connected to your computer via Bluetooth or USB cable.
• Click on the "Send to Printer" button on the left panel and choose your printer settings. You can adjust the paper size, paper type, bleed, and system dialog options. Make sure to select the paper type that matches your sticker paper and turn on the bleed option to avoid white edges around your stickers.

• Load your sticker paper into your printer and click on the "Print" button to print your sticker sheet. Wait for the printing to finish and check the quality of your print. You should see a black rectangle around your sticker sheet, which is the registration mark that your Cricut machine will use to scan and cut your stickers.
Step 6: Cut the images with a Cricut machine
The final step is to cut your stickers with your Cricut machine using the Print Then Cut feature. You can choose to cut your stickers as kiss cut or die cut. Kiss cut stickers are cut through the sticker paper but not the backing paper, so they stay on the sticker sheet until you peel them off. Die cut stickers are cut through both the sticker paper and the backing paper, so they come out as individual stickers. To cut your stickers with your Cricut machine, follow these steps:
• Trim your sticker sheet to fit the printable area of your Cricut mat. The printable area is 6.75 x 9.25 inches for the Cricut Maker 3 and Explore 3, and 6.75 x 9 inches for the older models. You can use a Cricut trimmer or scissors to cut your sticker sheet.
• Place your sticker sheet on your Cricut mat and smooth it out with your Cricut scraper tool. Make sure that there are no wrinkles or air bubbles on your sticker paper.
• Insert your Cricut mat into your Cricut machine and press the flashing "Load/Unload" button.
• Select the material setting for your sticker paper on your Cricut
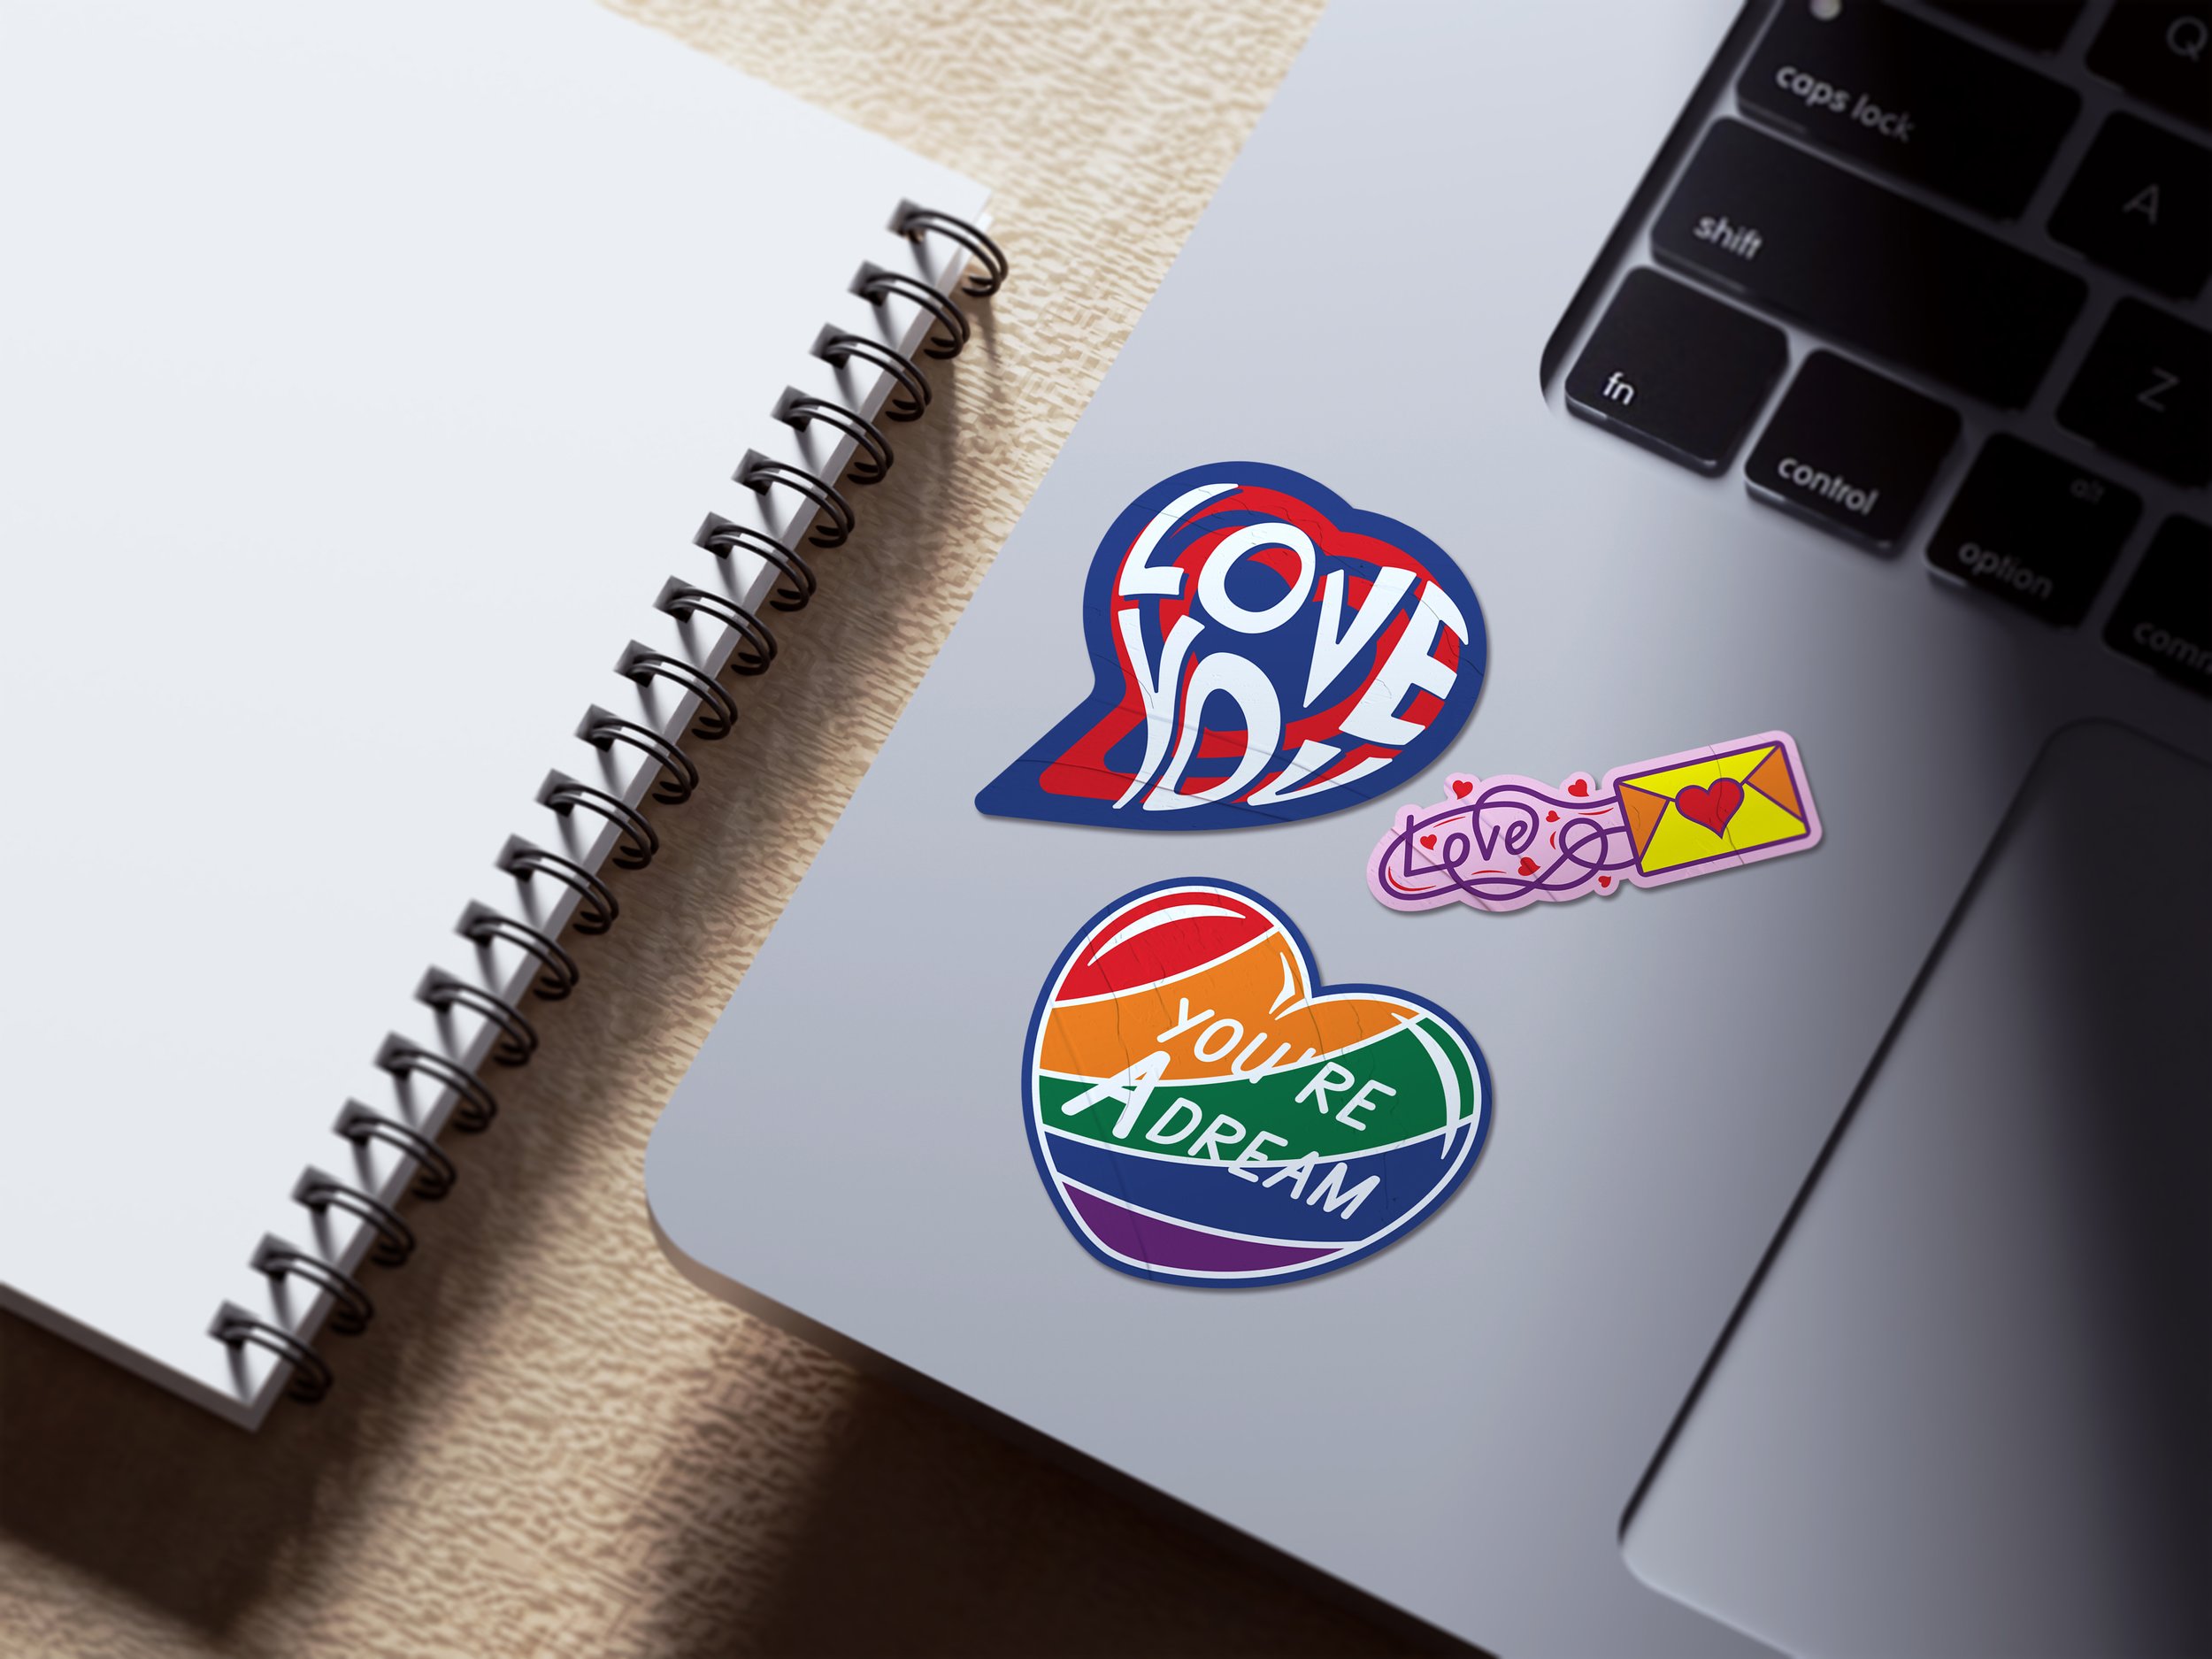
See thousands of Kukai Art sticker designs on Cricut Design Space